gift

DIY Hand-Shaped Book

Hello! Today’s DIY is a bookmaking project! I was inspired to make a sketchbook for myself and a friend and I wanted to make a book that is an interesting shape. This project is relatively easy but does require a bit of patience.

You will need:

  • Cover Paper (Can be watercolor paper, bristol, a thicker decorative paper)

  • Interior Paper (Could be sketchbook paper, printer paper, just anything thin)

  • X-acto Knife

  • Waxed-String or any string

  • A large needle

  • A puncher tool, thumb tack, or nail

  • Hammer

Step 1: Print and cut out the stencil above. It is easiest to do this with an Exacto knife but you can also use scissors. Trace and cut out a front and back cover out of cover paper. Trace and cut out 20-30 interior papers. Remember that you will need a ‘left’ and ‘right’ hand for the cover papers.

Step 2: Align the papers together, including the front and back cover pieces. Using the stencil, punch holes into the four dots shown on the left side of the stencil. You can also use a hammer and nail, a hole puncher, a push pin- whatever you have.

Step 3: Follow this 4-hole Japanese Bookbinding tutorial to bind the book together. “Sea Lemon” on Youtube does a great job walking you through the binding process. Some tips I have are to make the holes pretty large, the ones shown above were really small and hard to work with so I would go a few sizes up. You also do not have to use a needle, I used the thread dipped in beeswax and was able to bind my book just fine.

This project makes such a wonderful gift and there are a lot of different ways you can change it from what I made. You could illustrate your own cover for example, or fill it with sketches of things you can hold on your hand. You can also experiment with making books of different shapes.

Have fun and happy bookmaking!

Warmly,

Olivia

DIY Wire-set Quartz and Gemstone Necklaces

There is a place I know where you can dig for your own quartz crystals in the mountains. I have found some amazing specimens over the years and I have always wanted to turn them into jewelry. This Christmas, I was making homemade gifts for all of my friends and family and I wanted to finally make the quartz necklaces I had been dreaming of! These necklaces mean so much to me because I found the crystal and made the necklace.

So below is the process of how to wire-wrap a quartz crystal.

Materials:

  • 2mm or 3mm gemstone beads (I bought mine here: Etsy link)

  • .018 in (0.46mm) Bead Stringing Wire

  • 18-Gauge Flat Silver Wire

  • German Style Wire, Round, 24 Gauge (AKA thin wire)

  • Small Crimp Beads

  • Small Jump-Rings

  • Lobster Claw Clasps

  • Round Nose Pliers

  • Wire Cutters

  • Chain Nose Pliers

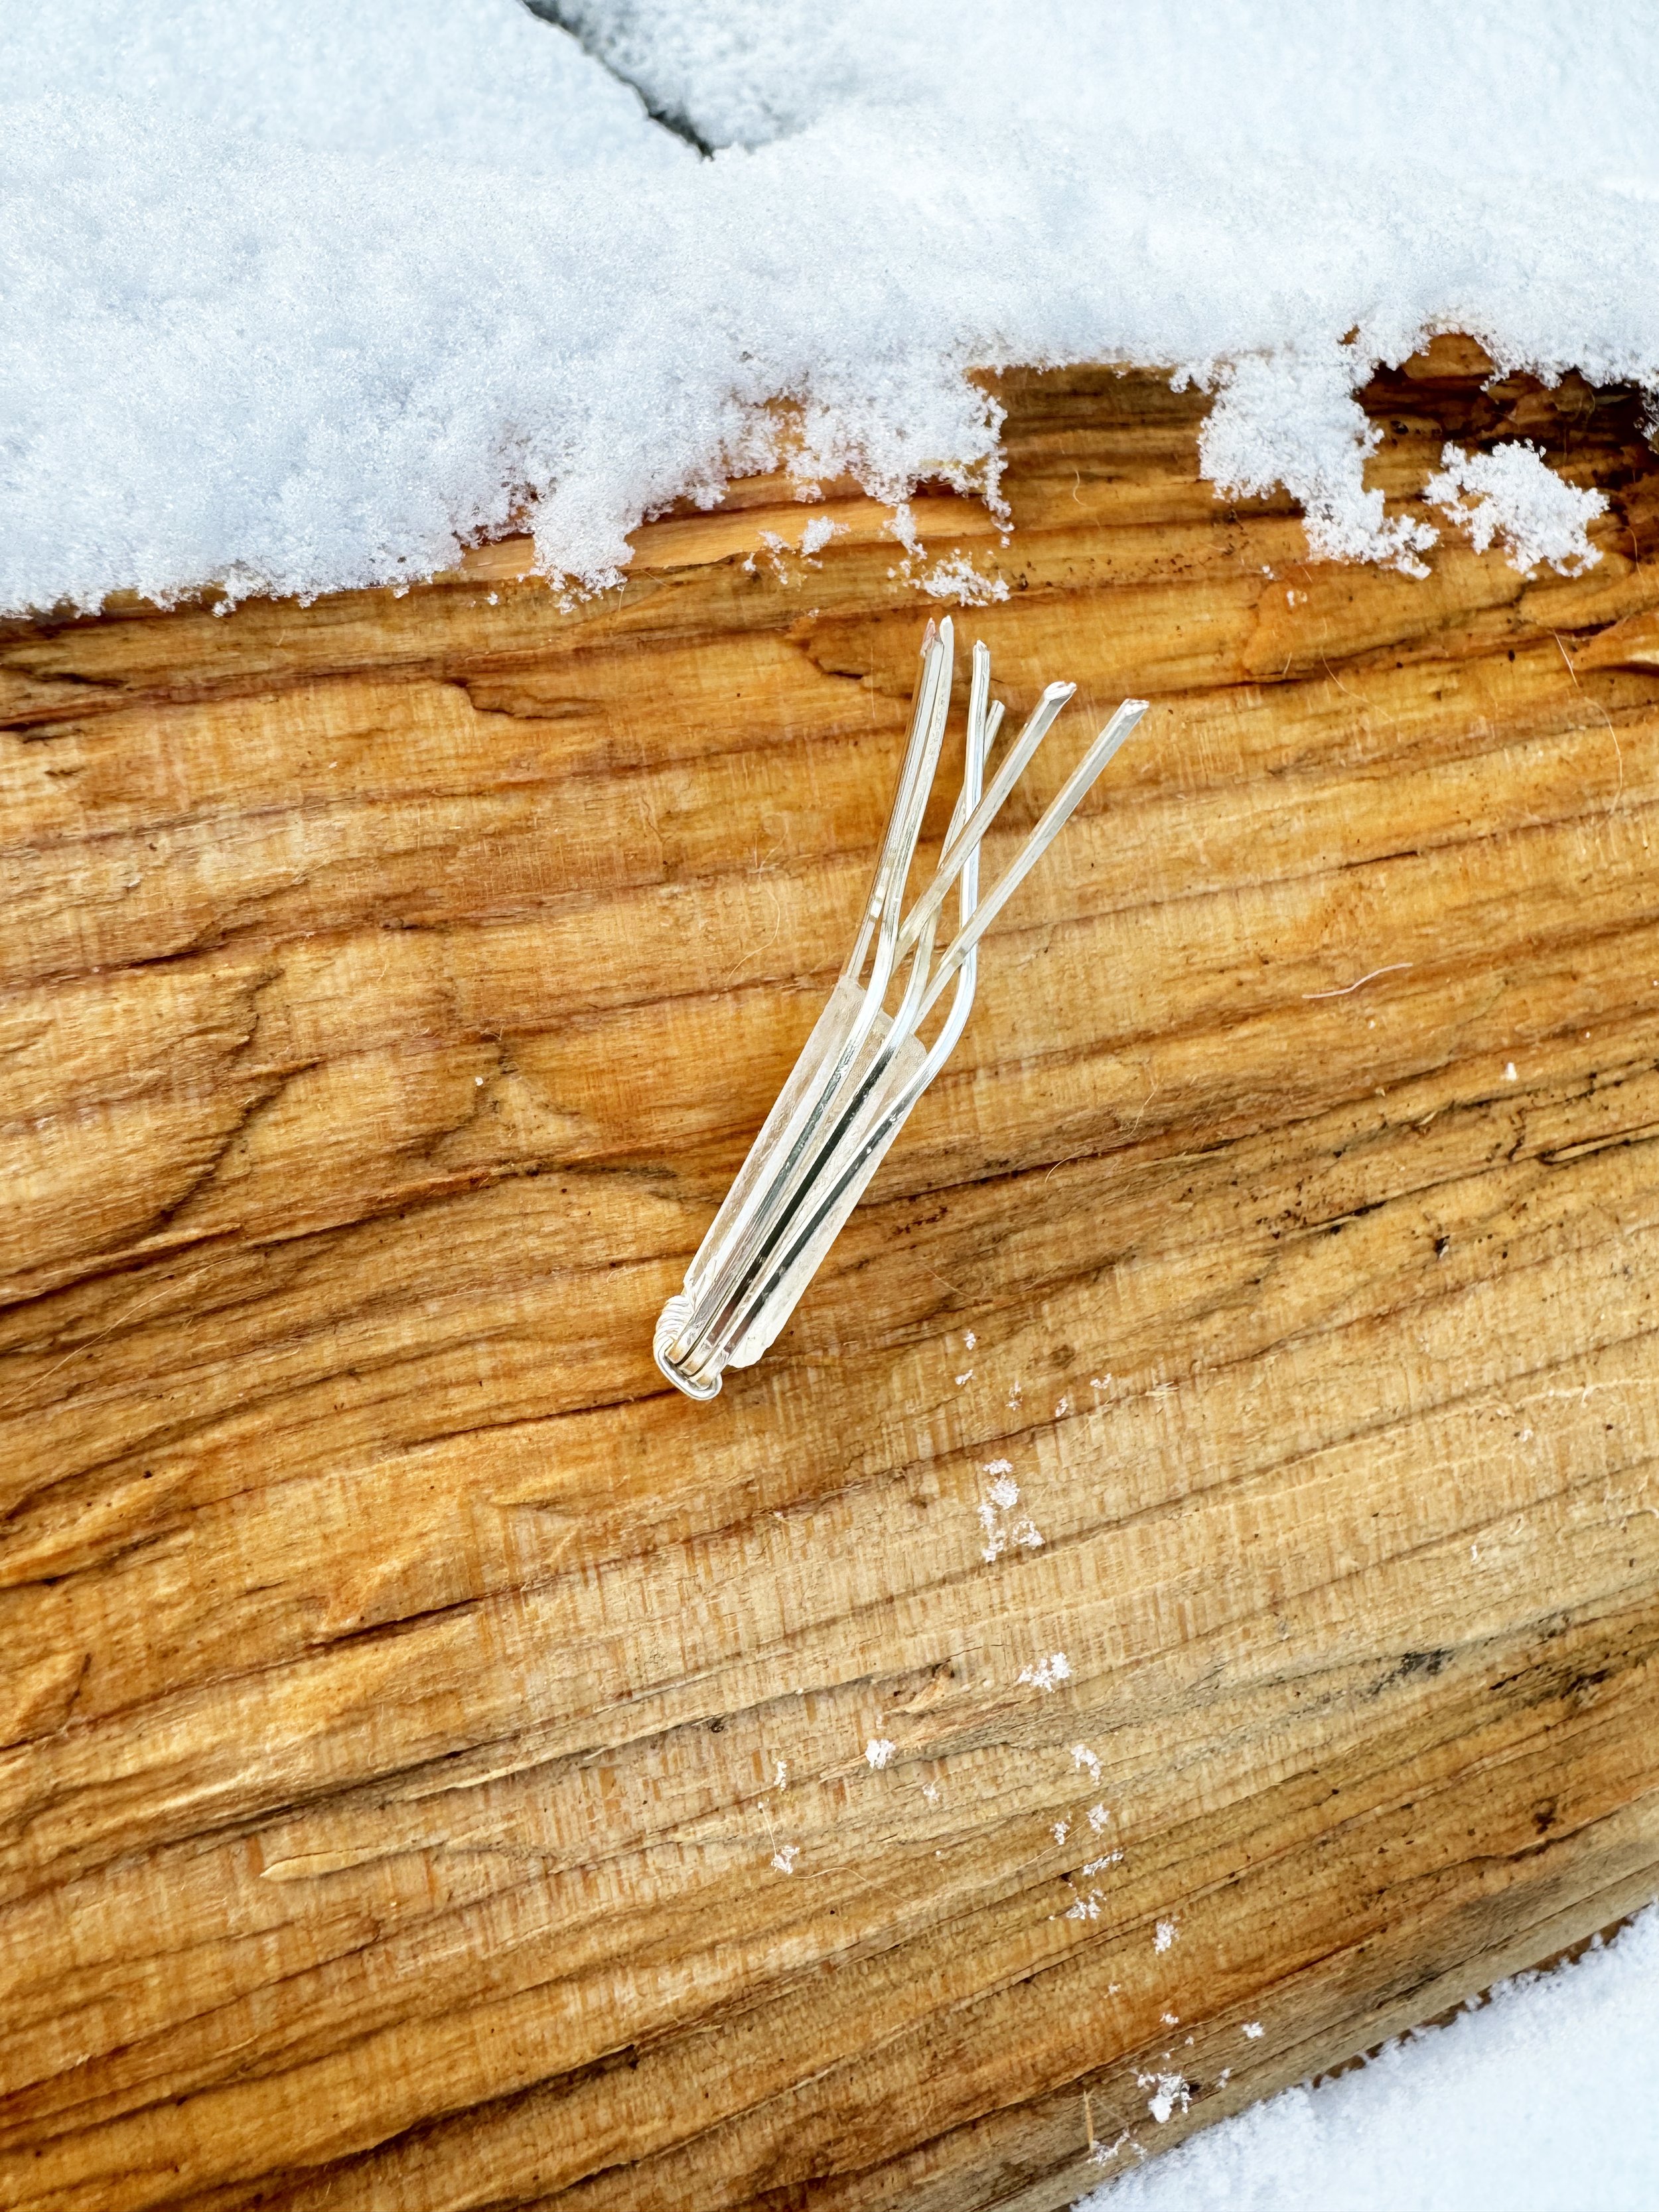
Step 1: Cut 3 pieces of 18-Gauge Flat Silver Wire to the same size, make sure it is longer that three times your crystal. Bind all three wires with German Style Wire, Round, 24 Gauge. Make sure the binding is as wide as your crystal.

Step 2: Bend your wires to a ‘U’ shape using your hands.

Step 3: Place your crystal inside the ‘U’ and alternately bend the wires over the top of the crystal. Make sure the wire is is interlaced at the top like the picture in the right.

Step 4: Fasten the wire together at the top using the German Style Wire, Round, 24 Gauge (AKA thin wire.) Its okay if its not perfect!

Step 5: Make a bend in the center of each exterior wire on both sides of the crystal.

Step 6: Using pliers, crimp together the wires that you pulled out, you may have to pull them out a lot if the crystal is not flat. Then, trim the tops of the wire to all be the same height and using the Round Nose Pliers, curl the top wires.

That is how you wrap a quartz crystal! Make sure the top wires have no gaps and are even.

Step 7: Cut a piece of .018 in (0.46mm) Bead Stringing Wire for one side of the necklace and loop it through one side of the crystal pendant. Secure the string using two crimp beads. Repeat on the other side and then string on the 2mm or 3mm gemstone beads.

Step 8: Fasten the necklace by looping the tails of the string through two crimp beads and a Lobster Claw Clasp, cut off the remains of the string. Repeat on the other side of the necklace but with a jump ring.

You can experiment with all different sorts of beads and you can use this technique on any kind of crystal!

Have fun making jewelry!

Olivia